Grohe Kitchen Faucet Repair Manual: A Comprehensive Guide
This manual provides detailed instructions for maintaining and repairing your Grohe kitchen faucet‚ ensuring longevity and optimal performance.
It covers everything from basic maintenance like cleaning to advanced repairs‚ referencing official Grohe resources and manuals for specific models like the Ladylux Cafe.
Understanding component locations and common issues‚ alongside proper tool usage‚ will empower you to tackle repairs effectively‚ potentially saving on professional plumbing costs.
Understanding Grohe Faucet Components
Grohe faucets‚ renowned for their quality‚ comprise several key components crucial for functionality. The cartridge controls water flow and temperature‚ often requiring replacement in case of leaks. The spray head‚ particularly in models like the Ladylux Cafe‚ features a pull-down mechanism with a hose and spray face‚ needing occasional detachment for cleaning or repair.
O-rings and seals prevent leaks at various connection points‚ while the base secures the faucet to the sink. Understanding the location and function of each part – from the spout to internal valves – is vital for effective troubleshooting. Installation instructions manuals (like Grohe 35807801) detail these components visually. Familiarizing yourself with these parts‚ as outlined in Grohe service manuals (GROHE 40691001)‚ will streamline the repair process and ensure you use the correct parts when needed.
Identifying Common Grohe Faucet Problems
Grohe kitchen faucets‚ while durable‚ can experience several common issues. Leaky faucets are frequent‚ often stemming from worn-out cartridges or deteriorated O-rings and seals. Drips from the spout can indicate cartridge problems or sediment buildup. Leaks at the base suggest issues with the mounting hardware or supply line connections.
Pull-down sprayer problems‚ particularly with the Ladylux Cafe‚ include low water pressure or difficulty retracting the hose. Corroded connections can also cause leaks and reduced water flow. Recognizing these symptoms early is crucial. Referencing Grohe support resources and online forums can help pinpoint the exact cause. Proper diagnosis‚ aided by manuals and online communities‚ is the first step towards a successful repair‚ preventing further damage and ensuring optimal faucet performance.
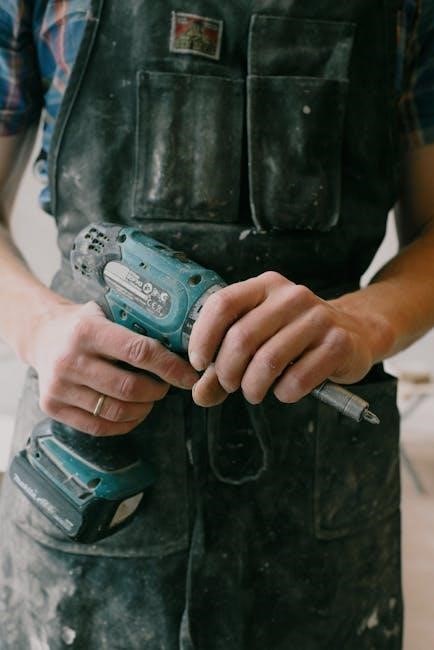
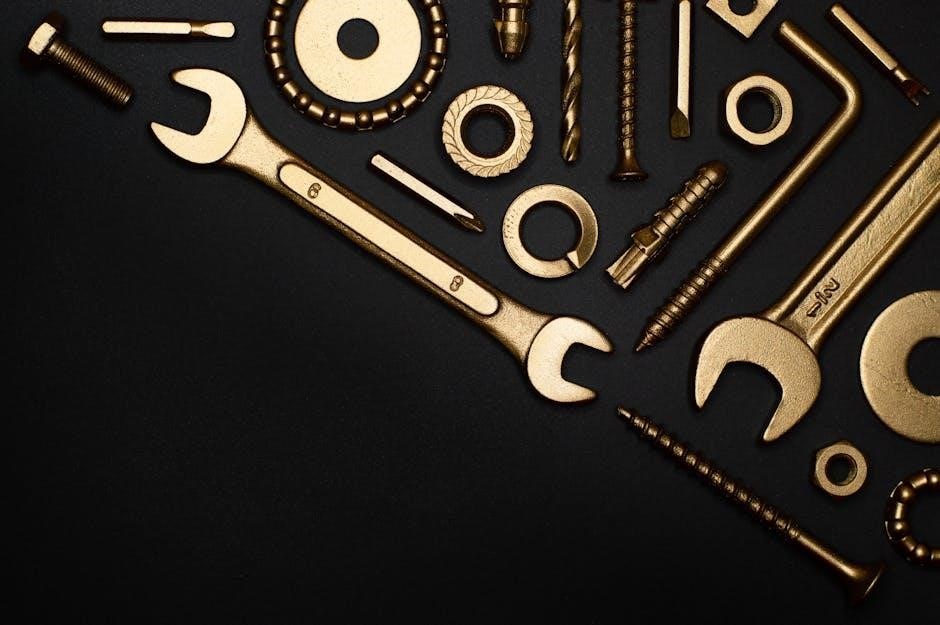
Tools Required for Grohe Faucet Repair
Successfully repairing your Grohe kitchen faucet necessitates having the right tools readily available. Essential items include a set of hex keys‚ particularly for detaching the pull-down sprayer – the plastic knob installation tool is vital for Ladylux Cafe models. Adjustable wrenches are crucial for loosening and tightening supply lines and mounting nuts.
A screwdriver set (Phillips and flathead) is needed for various components. O-ring picks and a small hook tool assist in removing old seals. Pliers are useful for gripping and maneuvering parts. A basin wrench can access hard-to-reach nuts under the sink. Don’t forget penetrating oil for corroded connections and a clean cloth for wiping surfaces. Having these tools prepared streamlines the repair process‚ ensuring efficiency and preventing damage.
Repairing Leaky Grohe Kitchen Faucets
Addressing leaks often involves replacing cartridges‚ fixing spout drips‚ or tightening connections at the faucet’s base‚ restoring water flow and preventing damage.
Replacing Cartridges in Grohe Faucets
Cartridge replacement is a frequent fix for leaky Grohe faucets. Begin by shutting off the water supply to the faucet. Carefully remove the handle‚ often concealing a retaining nut or screw; use appropriate tools to avoid damage. Once the handle is off‚ unscrew the cartridge retaining clip.
Gently pull the old cartridge straight up and out – it may require some force. Before installing the new cartridge‚ inspect the valve body for debris or corrosion‚ cleaning as needed. Align the new cartridge correctly‚ ensuring proper orientation‚ and press it firmly into place. Reinstall the retaining clip‚ handle‚ and tighten all components. Finally‚ restore the water supply and test for leaks. Refer to your faucet’s specific manual for detailed diagrams and instructions‚ as cartridge designs vary between models.
Fixing Drips from the Spout
Persistent drips from the spout often indicate worn-out seals or a faulty cartridge within the Grohe faucet. Start by isolating the issue – does the drip continue with the handle off? If so‚ the cartridge is likely the culprit‚ requiring replacement as detailed previously.
If the drip stops with the handle off‚ focus on the spout o-rings. Shut off the water supply and disassemble the spout‚ carefully noting the order of components. Inspect the o-rings for cracks or wear‚ and replace them with new‚ compatible parts. Reassemble the spout‚ ensuring a tight seal. Always use Grohe-approved replacement parts to maintain faucet integrity. If the problem persists‚ consult the Grohe service manual for your specific model.
Addressing Leaks at the Base of the Faucet
Leaks appearing at the base of your Grohe kitchen faucet typically stem from loose connections or deteriorated O-rings within the faucet body. Begin by carefully inspecting the mounting nuts underneath the sink‚ tightening them gently but firmly. Avoid over-tightening‚ which could damage the sink or faucet.
If tightening doesn’t resolve the leak‚ shut off the water supply and disassemble the faucet base. Inspect the O-rings and seals for wear‚ cracks‚ or deformation. Replace any damaged components with Grohe-approved replacements. Ensure proper lubrication during reassembly. Refer to the Grohe installation instructions manual for your model to understand the correct order of parts. A corroded connection may also be the cause‚ requiring careful cleaning or replacement.

Troubleshooting Grohe Pull-Down Sprayer Issues
Addressing pull-down sprayer problems involves checking for blockages‚ low pressure‚ or detachment issues. Utilize the provided hex tool to unfasten and inspect the spray face.
Detaching and Reattaching the Pull-Down Sprayer
Successfully detaching the Grohe pull-down sprayer often requires a specific tool‚ frequently included with the faucet – a plastic knob installation tool with a hex head cutout. Carefully position this tool over the rubberized‚ molded hex nut located on the sprayer head. This allows you to effectively unfasten the spray face from the main sprayer body.
Before attempting reattachment‚ inspect the sprayer hose for kinks or damage‚ and ensure the connection points are clean and free of debris. When reattaching‚ align the spray face and tighten the hex nut using the tool‚ ensuring a secure but not overly tight fit. Avoid excessive force‚ which could damage the components. Proper reattachment guarantees smooth operation and prevents leaks.
Remember to test the sprayer’s functionality after reattachment‚ checking for proper water flow and retraction.
Repairing Low Water Pressure in the Sprayer
Low water pressure in your Grohe pull-down sprayer can stem from several issues. First‚ check the sprayer head itself for mineral buildup or blockages. Remove the spray face (following instructions for your specific Ladylux Cafe model) and soak it in a descaling solution‚ then rinse thoroughly.
Next‚ inspect the sprayer hose for kinks or obstructions. Carefully straighten any kinks and flush the hose with water to dislodge any debris. If the problem persists‚ examine the connection points within the faucet body for blockages.
Finally‚ a partially closed shut-off valve under the sink can restrict flow. Ensure these valves are fully open. If none of these steps resolve the issue‚ the cartridge may need replacing‚ as it regulates water distribution.
Unfastening the Spray Face (Ladylux Cafe Models)
For Grohe Ladylux Cafe models‚ unfastening the spray face requires a specific technique to avoid damage. With the spray head facing upwards‚ locate the rubberized‚ molded hex nut on the spray head. Grohe provides a plastic knob installation tool with a hex head cutout specifically designed for this purpose.
Place the tool over the hex nut‚ ensuring a snug fit. Carefully rotate the tool counterclockwise to loosen and unfasten the spray face from the spray head. Avoid using excessive force‚ as this could strip the nut or damage the components.
Once loosened‚ the spray face should detach easily‚ allowing access for cleaning or replacement of internal parts. Remember to consult your model’s installation instructions for visual guidance.
Grohe Faucet Installation & Manuals
Locating the correct installation instructions and service manuals is crucial for successful Grohe faucet work‚ with resources readily available online via the official Grohe website.
Locating Grohe Installation Instructions (Model Specific)
Finding the precise installation instructions for your Grohe kitchen faucet is paramount for a smooth and correct setup‚ or for understanding disassembly during repairs. Grohe offers a comprehensive library of manuals accessible through their official website. To pinpoint the correct document‚ you’ll need your faucet’s exact model number – often found on the faucet itself or original packaging.
Specifically‚ resources like ManualsLib host a variety of Grohe plumbing product manuals‚ including installation guides like the 35807801‚ which also applies to Axor Steel models. Searching by model number ensures you receive instructions tailored to your specific faucet’s features and components. These manuals detail the step-by-step process‚ parts lists‚ and diagrams essential for proper installation and future maintenance. Remember to download and save these instructions for future reference‚ as they can be invaluable during repairs or when addressing any issues.
Downloading Grohe Service Manuals
Accessing Grohe service manuals is crucial for tackling more complex faucet repairs beyond basic maintenance. These manuals provide in-depth schematics‚ parts breakdowns‚ and detailed repair procedures that aren’t typically found in standard installation guides. Grohe’s official website is the primary source‚ though third-party sites like ManualsLib also archive a selection of these valuable resources.
Currently‚ Grohe offers service manuals such as the 40691001‚ a 32-page document detailing various repair procedures. When searching‚ utilize your faucet’s model number to ensure you download the correct manual. These documents often cover component disassembly‚ seal replacement‚ and troubleshooting common issues. Downloading and keeping these manuals readily available will significantly aid in diagnosing and resolving problems with your Grohe kitchen faucet‚ potentially avoiding costly professional service calls.
Grohe Faucet Maintenance & Care
Regular cleaning with non-abrasive products preserves Grohe’s finishes‚ preventing corrosion and maintaining luster. Avoid harsh chemicals and abrasive sponges to protect the faucet’s integrity.
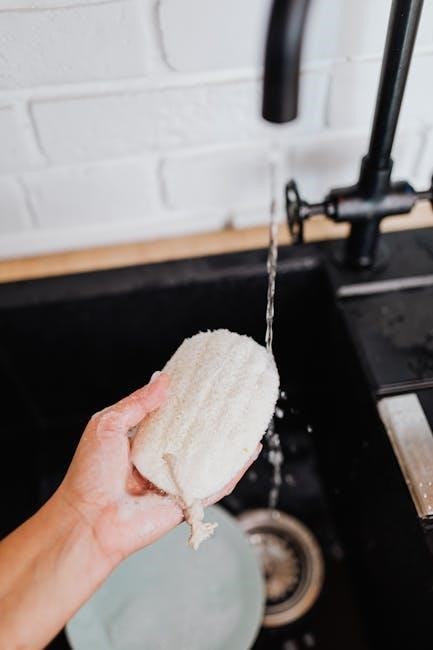
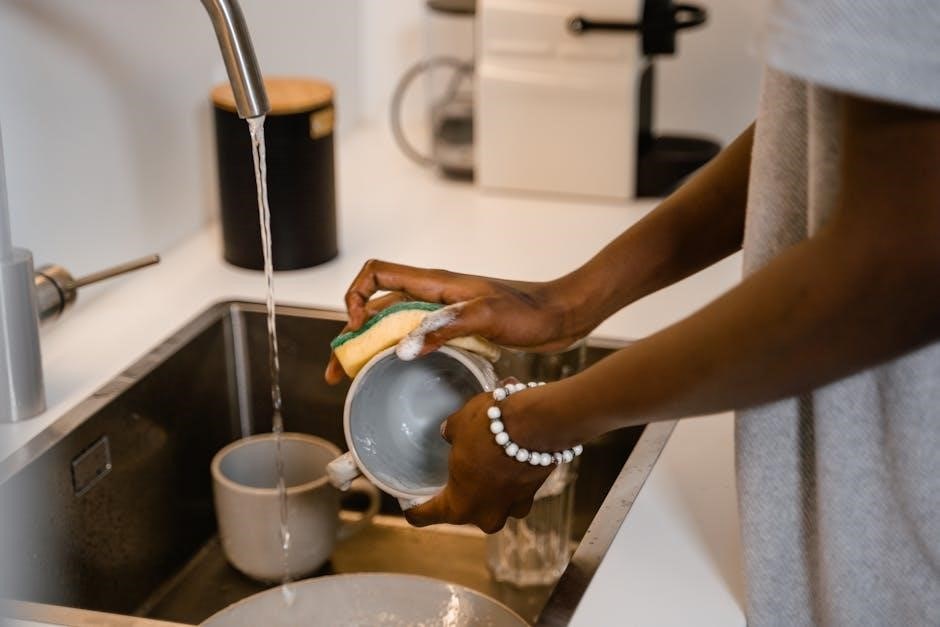
Cleaning Grohe Faucets – Recommended Practices
Maintaining a pristine Grohe faucet is surprisingly simple with the right approach. Daily wiping with a soft‚ damp cloth removes water spots and prevents mineral buildup‚ crucial for faucets exposed to hard water. For more thorough cleaning‚ use a mild dish soap diluted in warm water; apply with a soft cloth‚ rinse completely‚ and dry.
Grohe specifically advises against abrasive cleaners‚ scouring pads‚ or harsh chemicals like bleach‚ as these can damage the protective finishes – particularly on SuperSteel or brushed nickel models. Instead‚ consider a dedicated stainless steel cleaner for optimal results on those finishes. Regular care not only enhances the aesthetic appeal but also contributes to the longevity of your Grohe faucet‚ preventing corrosion and ensuring smooth operation for years to come. Download instructions for care from the official Grohe website for model-specific guidance.
Avoiding Abrasive Cleaners on Grohe Finishes
Grohe faucets boast stunning finishes‚ from durable chrome to sophisticated SuperSteel‚ but these are vulnerable to damage from improper cleaning. Abrasive cleaners‚ including scouring powders‚ steel wool‚ and even some textured sponges‚ can scratch and dull the surface‚ permanently compromising the faucet’s appearance. Harsh chemicals like bleach‚ ammonia‚ and acidic cleaners can also corrode the finish‚ leading to discoloration and pitting.
The key is gentleness. Always opt for a pH-neutral cleaner specifically designed for kitchen fixtures. Diluted dish soap and warm water are often sufficient for routine cleaning. When in doubt‚ test any cleaner on an inconspicuous area first. Following these guidelines will preserve the beauty and integrity of your Grohe faucet’s finish‚ ensuring it remains a focal point in your kitchen for years to come. Refer to Grohe’s care instructions for specific finish recommendations;
Advanced Grohe Faucet Repairs
Tackling complex issues often involves replacing O-rings‚ seals‚ and addressing corroded connections. Careful disassembly and utilizing Grohe service manuals are crucial for successful‚ lasting repairs.
Replacing O-Rings and Seals
O-rings and seals are vital for preventing leaks within your Grohe kitchen faucet‚ and deterioration is a common cause of drips. Carefully disassemble the faucet component exhibiting leakage‚ noting the position and orientation of each O-ring and seal before removal. Consult your model’s service manual – downloadable from the Grohe official website – for specific diagrams and part numbers.
Ensure the replacement O-rings are the correct size and material; using incorrect replacements can lead to further leaks or damage. Lightly lubricate the new O-rings with silicone grease before installation to aid seating and prevent future wear. Reassemble the faucet meticulously‚ tightening connections to the manufacturer’s specifications. Testing for leaks after reassembly is essential to confirm a successful repair. Remember‚ patience and attention to detail are key when dealing with these small‚ yet critical‚ components.
Dealing with Corroded Connections
Corrosion on Grohe faucet connections‚ often due to hard water or infrequent use‚ can make disassembly extremely difficult and risk damaging components. Avoid excessive force; instead‚ apply a penetrating oil specifically designed for plumbing fixtures‚ allowing it to soak for several hours‚ or even overnight.
Gentle heat‚ applied with caution using a hairdryer‚ can also help loosen corroded parts‚ but avoid direct flame. Use appropriate wrenches‚ ideally those with plastic-coated jaws to prevent further damage to the faucet’s finish. If a connection remains stubbornly stuck‚ consider seeking professional assistance to avoid breakage. Clean corroded surfaces thoroughly with a wire brush before reassembly‚ and apply a protective coating to prevent future corrosion. Remember to consult the Grohe service manuals for specific guidance on your model.
Resources for Grohe Faucet Repair
Access the official Grohe website for support‚ download service manuals‚ and explore online forums dedicated to Grohe faucet help and troubleshooting advice.
Grohe Official Website & Support
The Grohe official website serves as a primary resource for all things related to your faucet. Here‚ you can locate model-specific installation instructions manuals‚ often available as downloadable PDFs‚ like the Grohe 35807801 documentation. Beyond installation‚ the site provides access to a wealth of support materials‚ including frequently asked questions‚ troubleshooting guides‚ and contact information for their customer service team.
Directly contacting Grohe support can be invaluable for complex issues or when needing clarification on specific parts or procedures. They can assist in identifying your faucet model and directing you to the appropriate resources. Remember to have your faucet’s model number readily available when contacting support for faster assistance. The website also links to authorized service centers‚ offering professional repair options if DIY solutions prove insufficient.
Online Forums and Communities for Grohe Faucet Help
Online forums and communities‚ such as Home Improvement Stack Exchange‚ offer a collaborative platform for Grohe faucet owners to share experiences‚ troubleshooting tips‚ and repair advice. These forums are invaluable for diagnosing unusual problems or finding solutions not readily available in official documentation. Users often post detailed descriptions of their issues‚ accompanied by photos or videos‚ allowing others to provide targeted assistance.
Searching these platforms can reveal solutions to common problems‚ like detaching the spray face on a Ladylux Cafe model using the provided plastic knob installation tool. Remember to exercise caution when following advice from online forums‚ verifying information and prioritizing safety. These communities can supplement official Grohe support‚ providing a diverse range of perspectives and practical insights.